How to remove haze from landscape photos with depth-aware dehaze?
October 15, 2026
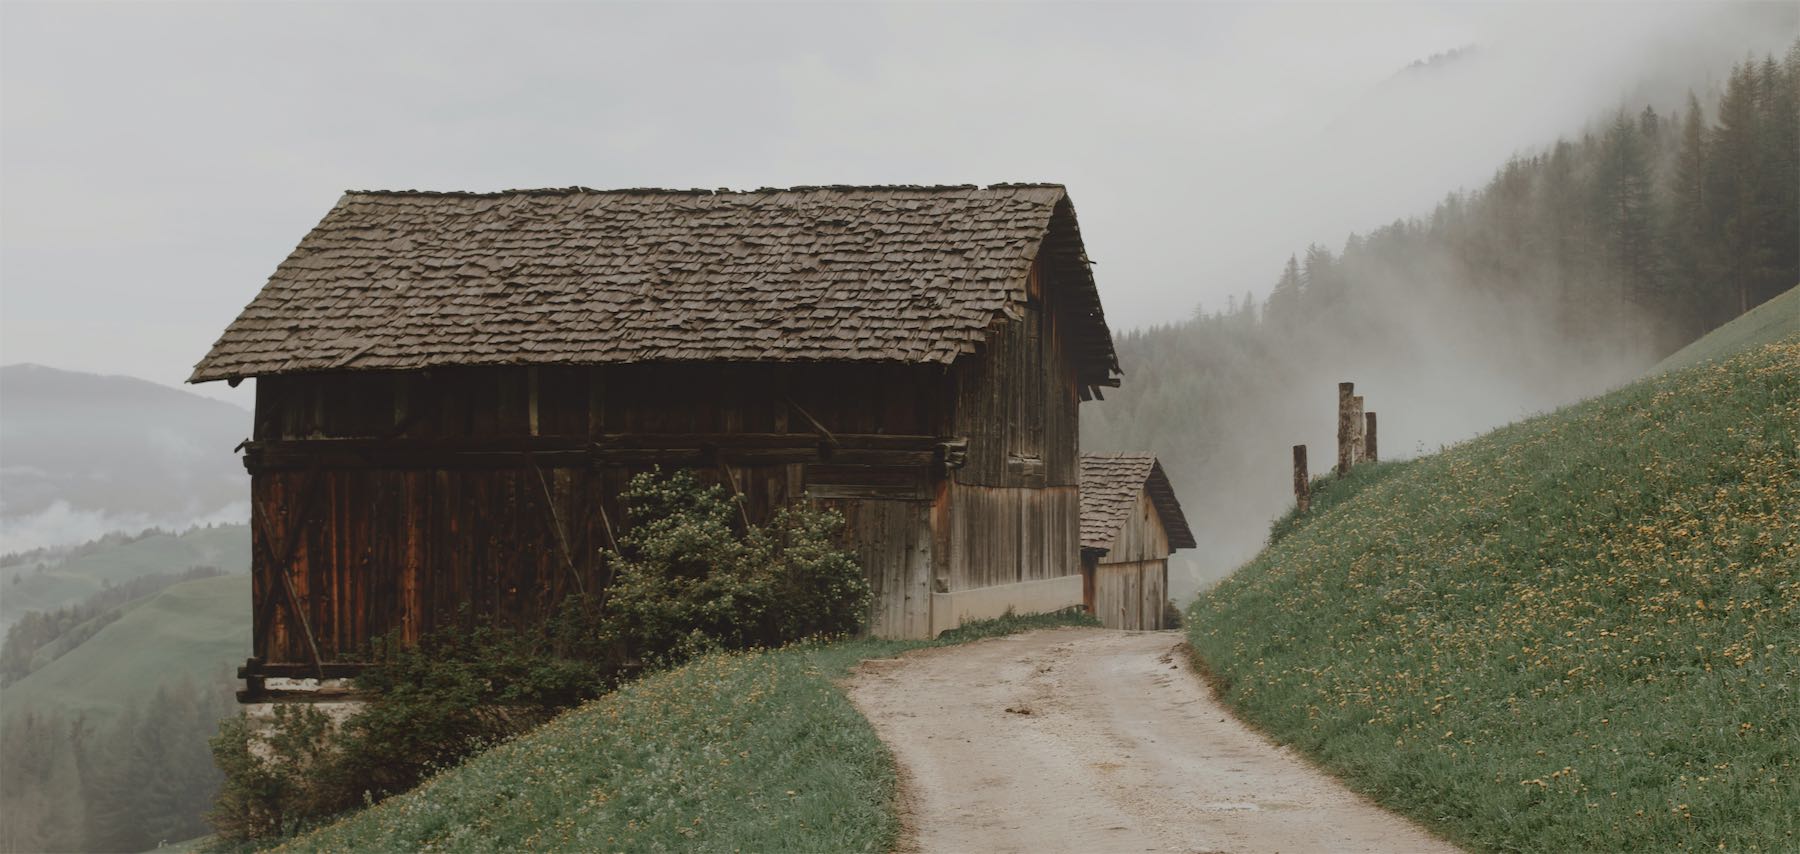
Atmospheric haze can make a beautiful landscape look flat and washed out. Distant mountains lose contrast, forests fade into the mist, and colors become less vivid. A dehaze adjustment can help restore detail, but applying the same correction across the entire image may also make the foreground look too dark, harsh, or saturated.
Spatial dehaze takes a different approach: it uses depth information to make haze removal sensitive to the distance of objects from the camera. In Pixea, this lets you control not only the strength of the effect, but also how it is distributed through the scene.
In this tutorial, we'll explain how spatial dehaze works, how it differs from conventional dehaze, and how to use it to restore clarity while preserving the natural atmosphere of a landscape.
Regular Dehaze vs. Spatial Dehaze
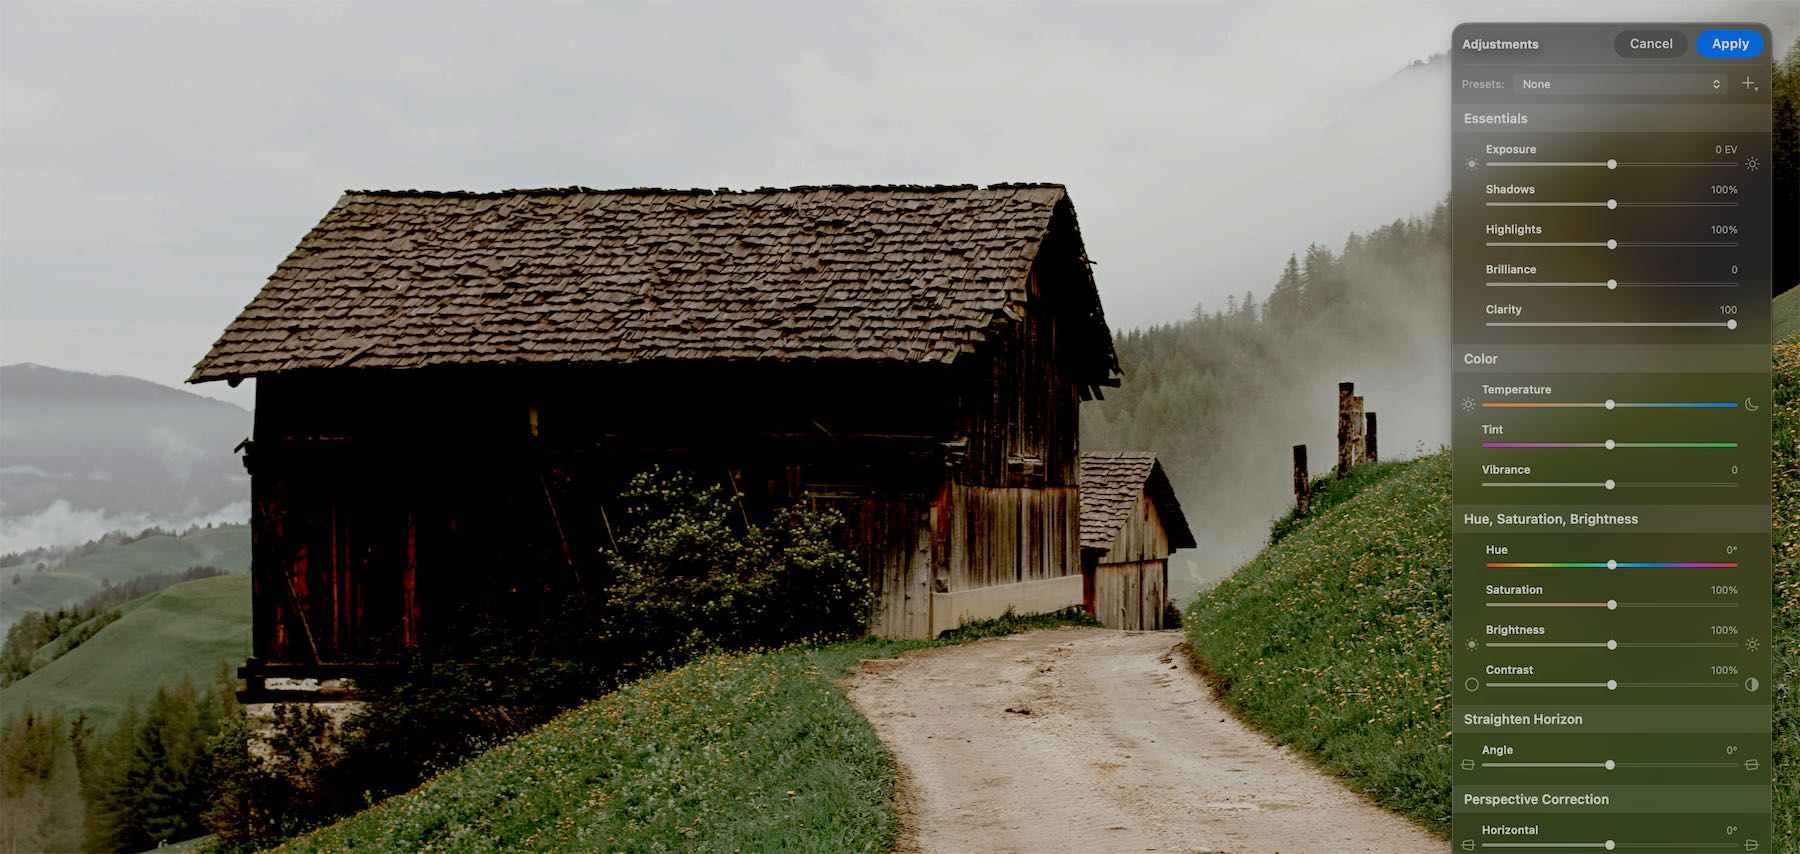
Conventional dehaze
A conventional dehaze adjustment applies its correction across the image. It can restore contrast and reveal details hidden by atmospheric haze, but a strong adjustment may also affect areas that were already clear.
Spatial dehaze uses a depth map to account for the relative distance of objects in the scene. Since atmospheric haze generally becomes more pronounced with distance, this additional information helps direct the correction according to scene depth.
The difference is especially useful in landscape photography, where nearby grass, trees, and buildings may already have good contrast while distant hills and forests appear faded.
Regular dehaze is a good choice when haze is relatively uniform throughout the image. Spatial dehaze is useful when you want to reduce haze selectively according to distance, without applying the same treatment to every part of the scene.
How Does Spatial Dehaze Work?
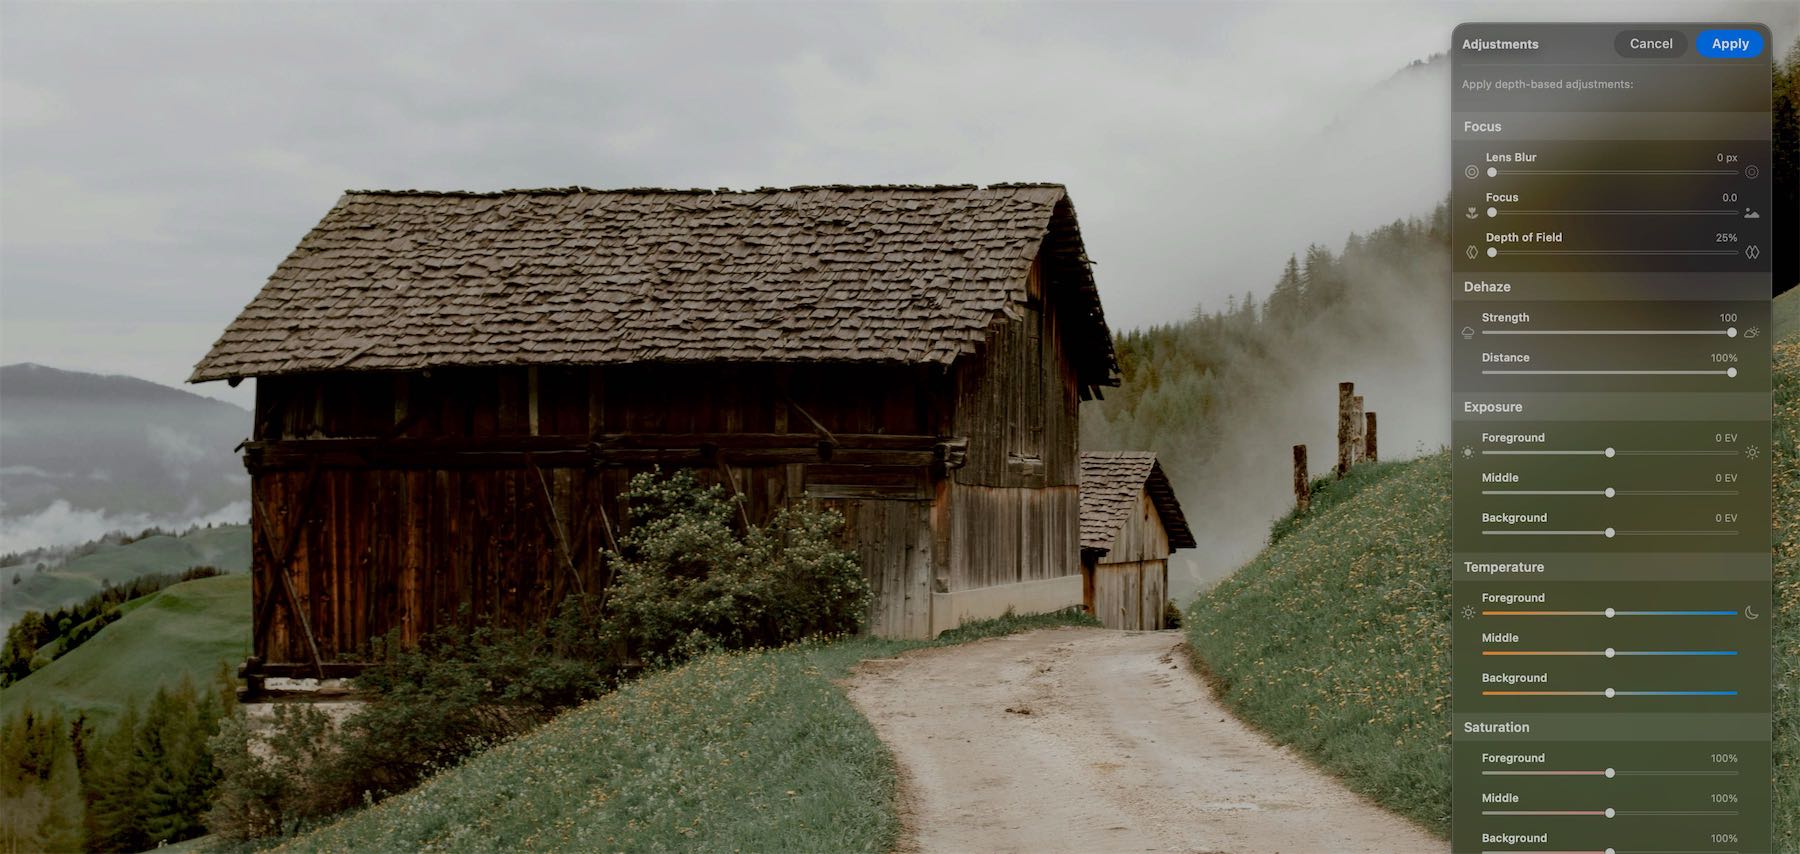
Depth-aware spatial dehaze
Haze forms when particles in the atmosphere scatter light between the camera and the scene. This scattered light reduces contrast and makes distant objects appear lighter and less distinct.
The farther light travels through the atmosphere, the more pronounced this effect can become. That's why a distant mountain ridge may look pale and washed out even when nearby trees remain relatively clear.
Pixea's spatial dehaze uses an estimated depth map to determine the relative distance of image regions. The dehaze effect is then modulated using this depth information rather than being applied uniformly.
Two controls let you fine-tune the result:
- Strength controls how strongly the haze is reduced.
- Distance controls the distance range over which the effect is applied.
Together, these controls help you recover distant detail without unnecessarily increasing contrast in the foreground. The depth map provides an estimate of scene structure, not a perfect measurement of physical distance, so the best settings depend on the image.
How to Apply Spatial Dehaze in Pixea
Step 1. Open Depth-based Adjustments.
Open your landscape photo in Pixea and choose Edit → Depth-based Adjustments. The adjustment panel includes spatial dehaze alongside exposure, color, and other depth-aware controls.
Step 2. Increase Dehaze Strength.
Move the Strength slider to the right to reduce atmospheric haze. Start with a moderate value and observe how the distant landscape changes.
In our example, increasing Strength reveals more contrast in the forested hills and brings out details that were previously obscured by haze.
Step 3. Adjust the Distance.
Use the Distance slider to change how the effect is distributed according to depth. Experiment with different values to find a balance between recovering distant details and keeping the foreground natural.
The ideal setting depends on the scene. A landscape with a hazy mountain range may benefit from a different distance setting than a photo with mist immediately behind a nearby building.
Step 4. Fine-tune the overall image.
After reducing the haze, review the image for excessive contrast, darkened shadows, or overly intense colors. You can adjust Exposure, Temperature, Saturation, Brilliance, and Vibrance independently for the foreground, middle ground, and background.
This is one of the advantages of working with depth-aware adjustments: you can refine the overall lighting and color balance without having to rely on a single global correction.
Step 5. Compare the result with the original.
Use Compare with original to evaluate the changes. Aim for a clearer image that retains a convincing sense of distance. You don't necessarily need to remove every trace of haze; a little atmospheric perspective can help preserve the scale and mood of a landscape.
When you're happy with the result, click Apply.
Tips for Natural-Looking Results
- Start with Strength. Increase it gradually rather than immediately applying the maximum correction.
- Experiment with Distance. Find the range that improves the hazy parts of the scene without making the foreground look unnaturally processed.
- Watch the colors. Dehazing can make colors appear more saturated as contrast returns. Fine-tune saturation if necessary.
- Preserve some atmosphere. Completely eliminating haze can make distant mountains look unnaturally close. A natural result is often better than maximum clarity.
- Use other depth-aware adjustments when needed. If the foreground is too dark or the background needs additional tonal correction, adjust their exposure or color independently.
When Should You Use Spatial Dehaze?
Spatial dehaze is particularly useful for mountain landscapes, misty valleys, forested hills, and outdoor scenes where atmospheric haze varies with distance. It can also help with travel photos taken in humid conditions or from elevated viewpoints.
For evenly hazy images, a conventional global correction may be sufficient. When the scene contains distinct depth layers, spatial dehaze gives you another level of control.
The goal is not simply to make a landscape sharper or more contrasty. It's to restore separation between distant objects while preserving the natural depth, color, and atmosphere that make the scene compelling.

Modern Image Editor and Viewer